I wrote this tutorial for my personal website earlier this year but I am moving it to this blog for it’s faster servers and because writing a follow up guide covering what I have learned building models for this game.
Equipment
- Nikon D800E with a Sigma 50mm 1.4
- 2 320 Ws monolights
- Strip Boxes
- 1/2″ Drywall
- Matte spraypaint
Software:
- Reality Capture
- Adobe Bridge or Lightroom
- Zbrush
- 3dsmax
- Handplane Baker
- Substance Painter
- Unreal Engine 4
Basics
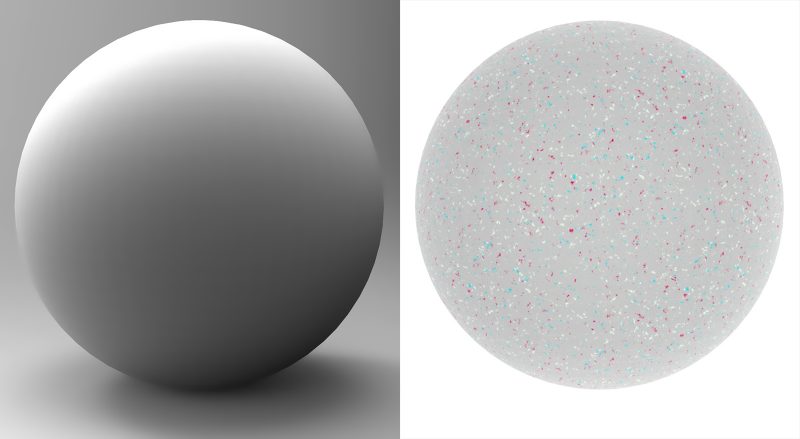
Before we can get into setting up materials or taking photos, it is important to understand how photogrammetry works. Photo based 3d scanning attempts to match points between images. After finding a matching point in multiple photos the software is able to calculate a coordinate. This process is repeated millions of times and you end up with a point cloud that represents the form of the object. We see form/volume based on light and shadow but photogrammetry does not. The software is just looking for points that it can match between images.The image below illustrates this difference. To our eyes the circle on the left is immediately readable as a sphere. For photogrammetry software images like this are confusing and will not produce good scan results. The sphere on the right is much closer to the kind of information the software can use. The lighting is very flat and there are many surface details that can be matched up between photos. The perfect photos for photogrammetry are totally sharp, no out of focus areas or camera shake, consistent in exposure and white balance between images, have no reflective or transparent surfaces that change appearance with angle, and show no sensor noise. You also need detail in all the shadows and highlights. If a highlight is blown out or a shadow is underexposed there is no usable information.
The Base Plate
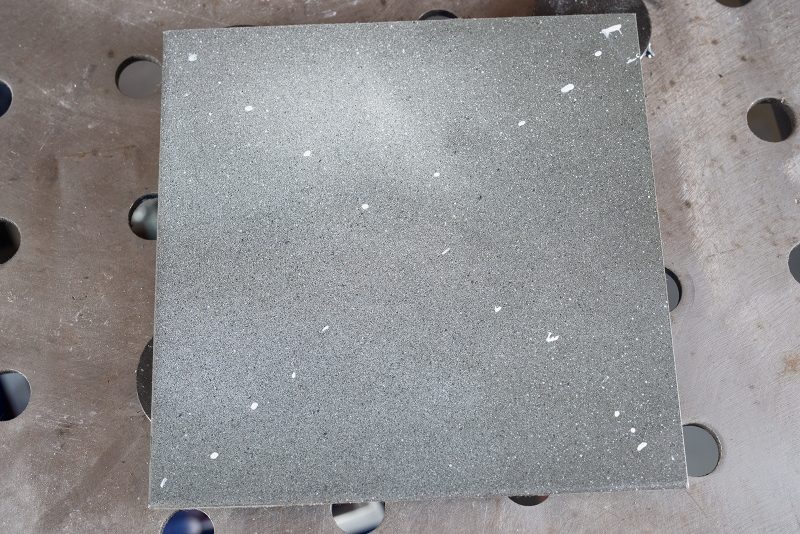
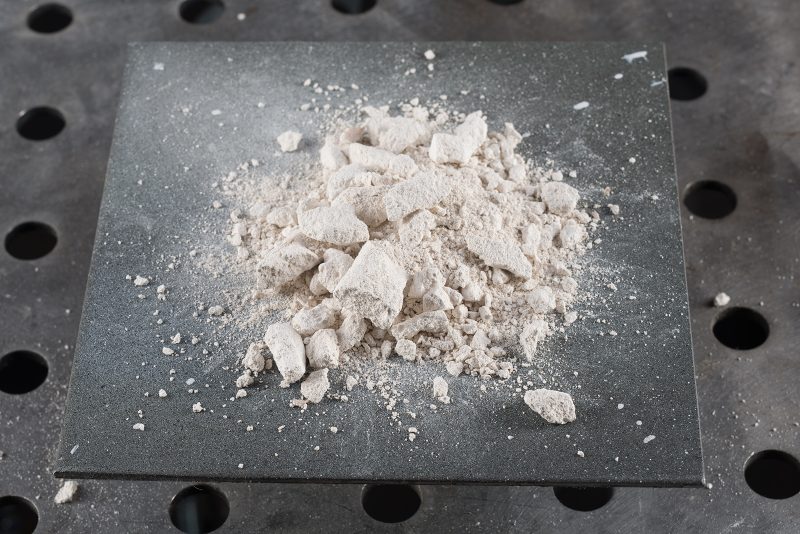
I’m using a 6”x6” steel plate that is reasonably flat. The flatter the surface the better. I prepped the surface of the plate by dusting it with 3 different colors of matte spray paint and then I took a toothpick and dabbed some white reference points in an X pattern. The white dots will provide landmarks for manual setting control points. The flatter your plate, the easier it will be to mask the rubble off of the surface.
Rubble Setup
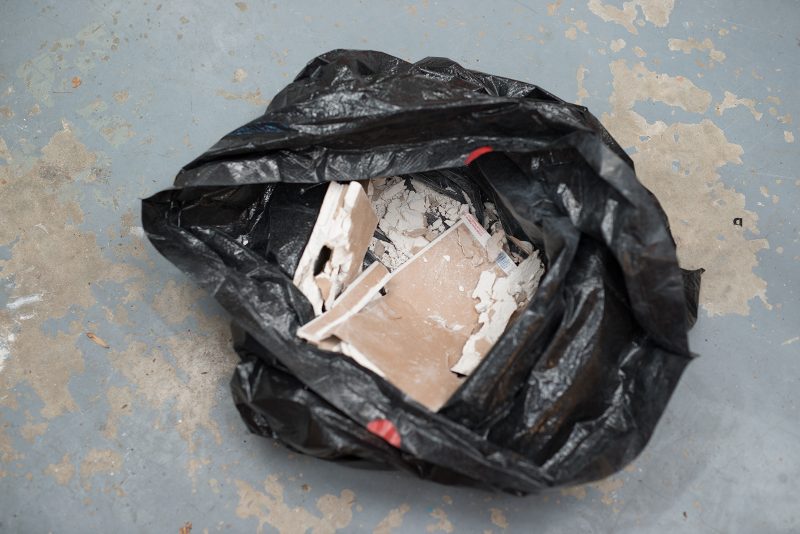
I’m using broken up pieces of half inch drywall. Since drywall breaks into very fine particulates, a small pile makes a convincing stand in for full sized debris. Break the drywall in a bag then sort out different sized pieces that you want to use. You want to pick out a good mix of sizes. Also grab some of the dust. Avoid or clean off as much of the backing paper as possible. Super thin surfaces will make it into the scan and will not translate to a low poly model or bake well. If any paper makes it into your scan you will need to clean it up in zbrush.
Pose your rubble by dumping your drywall pieces onto the plate. Usually I pour the debris several times and manipulate it with my hands until I have something I like. If you can see clear signs of hand manipulation at this stage, you will also see it in the final result.
Lighting
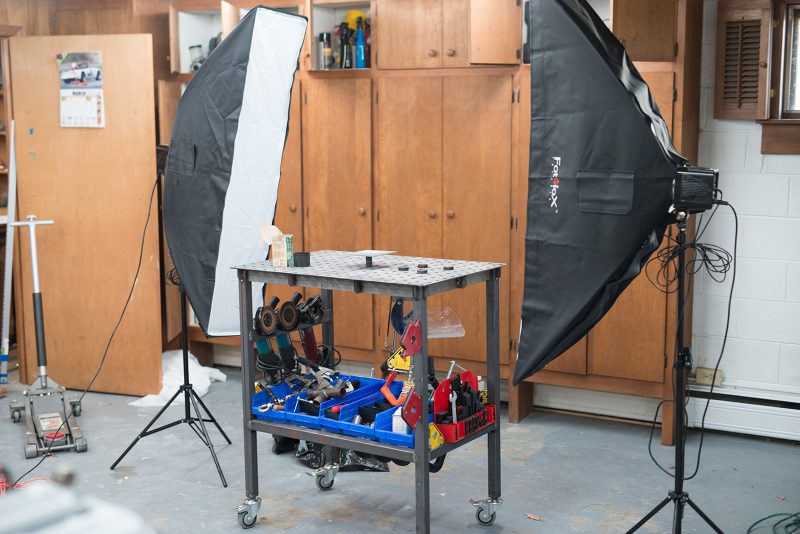
I’m using two 320 Ws monolights with strip boxes for diffusion. You can get away with much smaller flash units, I have these turned down to 1/8 power when shooting small objects. Also strip boxes provide enough diffusion without taking up too much space. You want to avoid positioning yourself between the lights and the subject so that you don’t cast shadows. A full sized softbox would block access for taking photos.
If you don’t have any lighting equipment use open shade on a bright day and a tripod as I described above.
How to set up your camera
Set your ISO to the minimum practical setting for low noise (usually ISO 100).
Set your camera to manual exposure mode and manual white balance
Set your camera to shoot in raw
Stop down to ~f11. This will get more of rubble in focus at once
Most people don’t have off camera flash units (on camera flash or any moving lighting is a big no no) and are going to be shooting with continuous lighting. If this is the case, you need a decent tripod and a cable release. Also set mirror lockup on your camera. Your exposure times are going to be very long and you will need to wait for the tripod to settle between each image. If you do have access to flash photography you can handhold all of your images and shooting will only take a few minutes.
Shooting
Shoot a test exposure to make sure the camera is set correctly. Check the histogram and make sure no highlights are being clipped and that you have shadow detail.
Start at a comfortable eye level and take photos a few inches apart circling the object. You should end up with about 30 images for your first pass. Follow this up with additional passes from a low and high angle. After you have 3 initial circles of photos I come in closer and try to get detail shots. Also, start shooting at two focus depths, once focused on the back edge of the rubble, and once focused on the front edge. Even at f/11 only portions of the rubble will be in focus at a time. For this rubble pile I ended up shooting 120 photos.
Processing the images
Start by loading your images into lightroom or bridge. Pixel peep your photos and make sure they are:
- Sharp
- Exposed correctly
- The subject fills the frame
- Clean, no sensor noise
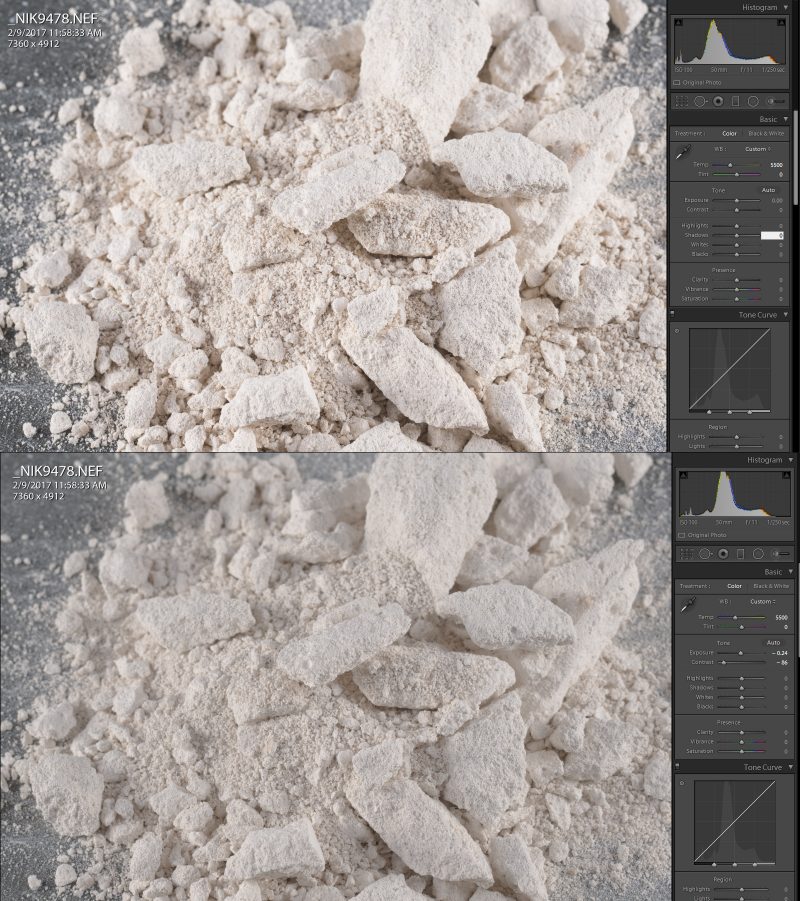
In my case the photos were about a half stop over exposed. I tweaked the exposure to bring back highlight detail. After that I adjusted the raw file settings to reduce the contrast.
I applied this raw profile to all my images and exported the files as tiffs. You can use max quality .jpg if you are concerned about storage space.
Reality Capture
Sculpt, Low, and Baking


Hi,
I just wanted to ask if you could clarify what you meant in your camera setup,
“Most people don’t have off camera flash units (on camera flash or any moving lighting is a big no no) and are going to be shooting with continuous lighting. ”
please tell me what you mean about off-camera flash units? I understand you should not use the flash setting in your camera.
“If you do have access to flash photography you can handhold all of your images and shooting will only take a few minutes”
So what exactly is the kind of flash lighting I need? How does that make your shots that much more motion blur/noise free if handheld?
Also I’d like to know if in your setup, did you move the camera while shooting around the object or did the object turn while the camera was still.
Thanks.
I use inexpensive monolights. Mine are made by Paul C. Buff.
Flash units let you handhold because the exposure duration is no longer a function of shutter speed but the duration of the flash. They also generate a lot more light than continuous lighting so I can shoot at f/11 and get more in focus in each shot.
I keep the object fixed in space and move around it.